
HOW TO TAKE BRILLIANT FLAT LAYS
The first thing you want to do is set up your flat lay close to the large light source, by a window on a sunny day is usually a great spot if you are planning to use natural light.
4 easy tips for a great flat lay
Without needing loads of gear!
So you want to up your Flat lay game but don’t want to spend a lot of money to get an overhead rig, strobes, speed lights? Well not to worry we’ve got you covered.
Firstly what is Flat photography? In short is a photograph taken from directly above looking down. It gives the viewer a bird's eye view of what it is your photographing and is an extremely popular genre of photography on social media, especially with the food and product pages. For the sake of this article lets just call whatever is being shot the ‘subject’ moving forward.
If you're looking for a quick way to showcase your product, the flat lay is an excellent solution. This simple style can be used in marketing collateral, on your website, and even shared on social media sites. But how do you create a great flat lay? Follow these four easy tips below for creating visually-appealing content that will impress clients and customers alike! Before we get into the 4 tips some things to keep in mind when setting up your flat lay.
Backgrounds
Consider your background carefully. Personally I love using wood or bright colours, but consider what goes best with the products you're styling to make sure they are highlighted perfectly in the image.
The background is just as important as your main subject. The wrong one can make your product look messy and unappealing, whereas the right one will draw the eye to it.
Say you're styling a pair of shoes they might go with a wood or metal slab, but not with brick or stone. You may want to use something in line with your brand identity, so think about that when choosing your backdrop too!
There are lots of different things you can do with backgrounds from white to color and from simple to elaborate so experiment until you find something that works for you!
Colors & Layers
Choose a theme or color scheme that ties together all of the elements you use in your photoshoot and product selection. A cohesive look will make your images more cohesive and effective at conveying a message about your brand's identity or style.
Layering is also important for creating a visually appealing flat lay. Think about how you can layer different textures and colors to create depth. For example, if you're styling a pair of shoes with some socks and merchandise, try laying down a scarf or throw blanket first so the socks and shoes really stand out.
If you're styling food items like cookies or donuts, try adding a piece of fruit on top of the dessert item to give it more color and dimension.
Top 4 Tips
OK, we have the basics of how to set up our flat way, now its time to dive into the 4 tips to really make them stand out above the rest. One of the most common mistakes I see when people shoot flat lay is the introduction of harsh shadows on one side of the subject. Its a dead give away that the photography hasn’t been intentional with their light source (there is also the potential that the photographer actually choose to shoot it with the harsh shadows but from my experience, BUT most of the times thats not the case).
Bounce Light
Now if I was shooting in my own studio I could be very specific with my lighting choices, adding in flashes and continuous lighting set ups at different temperatures and levels of diffusion to get the effect I want, however, you don’t need all that stuff to take a great flat lay, In fact all you really need is an large light source like the sun, some white card or foam board and an interesting subject and your on the way to a great flat lay.
The first thing you want to do is set up your flat lay close to the large light source, by a window on a sunny day is usually a perfect spot if you are planning to use natural light. Once you have your composition the way you want it, keeping in mind the use of color and layering from above, you can angle the white card or foam around the background to bounce back the light coming from the window and reduce those harsh shadows on the side furthest from the light source. Its probably easiest to see this demonstrated in the video above. You should immediately see an improvement in your photos with this small step alone and If you’re taking photos with the camera on your phone you may be able to just leave it at that.
Aperture & Manual Focus
HOWEVER, if you are using a DSLR or mirrorless camera, or indeed any camera that has a variable aperture and manual focusing, you should do these next two steps to really nail that awesome flat lay. Firstly raise your aperture. I know, I know, we all love shooting wide open and letting as much light in as possible, but if you are shooting a subject that has different levels to it you want to make sure the whole subject is in focus on not the tiniest tip of the piece that is closet to the camera. I tend to shoot flat lays with an aperture of around f4 - f5.6 but each environment will require you to make the call for yourself.
Secondly you want to use manual focus and set your focus point to the part of the subject that is farthest from the camera. This coupled with the higher aperture should make sure you’re whole photo is as tack sharp as it can be resulting in a much more impressive flat lay photo.
EDIT
At last its time to edit that shot! Now some people out there won’t have any interest in editing their photos, and there’s no shame in that, but you might be surprised about how much you can improve your photo with even some basic editing adjustments. By raising those shadows a tad more or punching the saturation a fraction your photo can pop that bit more, especially when most of us are viewing these photos on tiny screens!
Be Creative
Finally, everything we spoke about here has been discussing flat lat photography in a very controlled and quite a small environment, but don’t let that limit you. Get creative and see if you can explore a birds eye view to create flat lays that makes the viewer double take the photo. Maybe you could use a drone, or if you’re lucky enough to know someone with a helicopter you could explore shooting streets of landscapes in a similar flat lay style. Flat lay has become a pretty commercial style of photography but that doesn’t mean you can’t play with it and see how far you can push it so get creative out there!
Finding the colours of a city
How to edit Toronto
Letting your experiences while shooting lead your edit.
Photo editing is a skill, the same way that photo taking is a skill, the same way that photo marketing is a skill. Photographers are expected to have all these skills in their tool kit from the get go and that is rough.
There is a limited number of career paths out their that when you start out you have a 99% chance of being absolutely awful at your job. No one picks up a camera for the first time and instantly knows how it works, or understands the nuances of colours and light. Their is a very steep learning curve for content creators where you learn you’re own style and gradually get better and better.
Today I wanted to talk about something that piqued my interest as I gradually got more comfortable with editing, and that is allowing the photo or the day to dictate the flow of your edit.
I used to be one of those photographers that would constantly try and fix things in post, I’d make photos shot at 2pm try and look like a photo shot at golden hour. I know how lazy that is NOW but at the time I didn’t understand that editing was an extension of the photography process, not the end product.
Gradually I started waking up earlier, hiking farther, investing in my skills and gear and ultimately getting better.
I learnt that the time at which you take a photograph, the feelings, the atmosphere, the event are all significant and can be used in the edit to help inform your style.
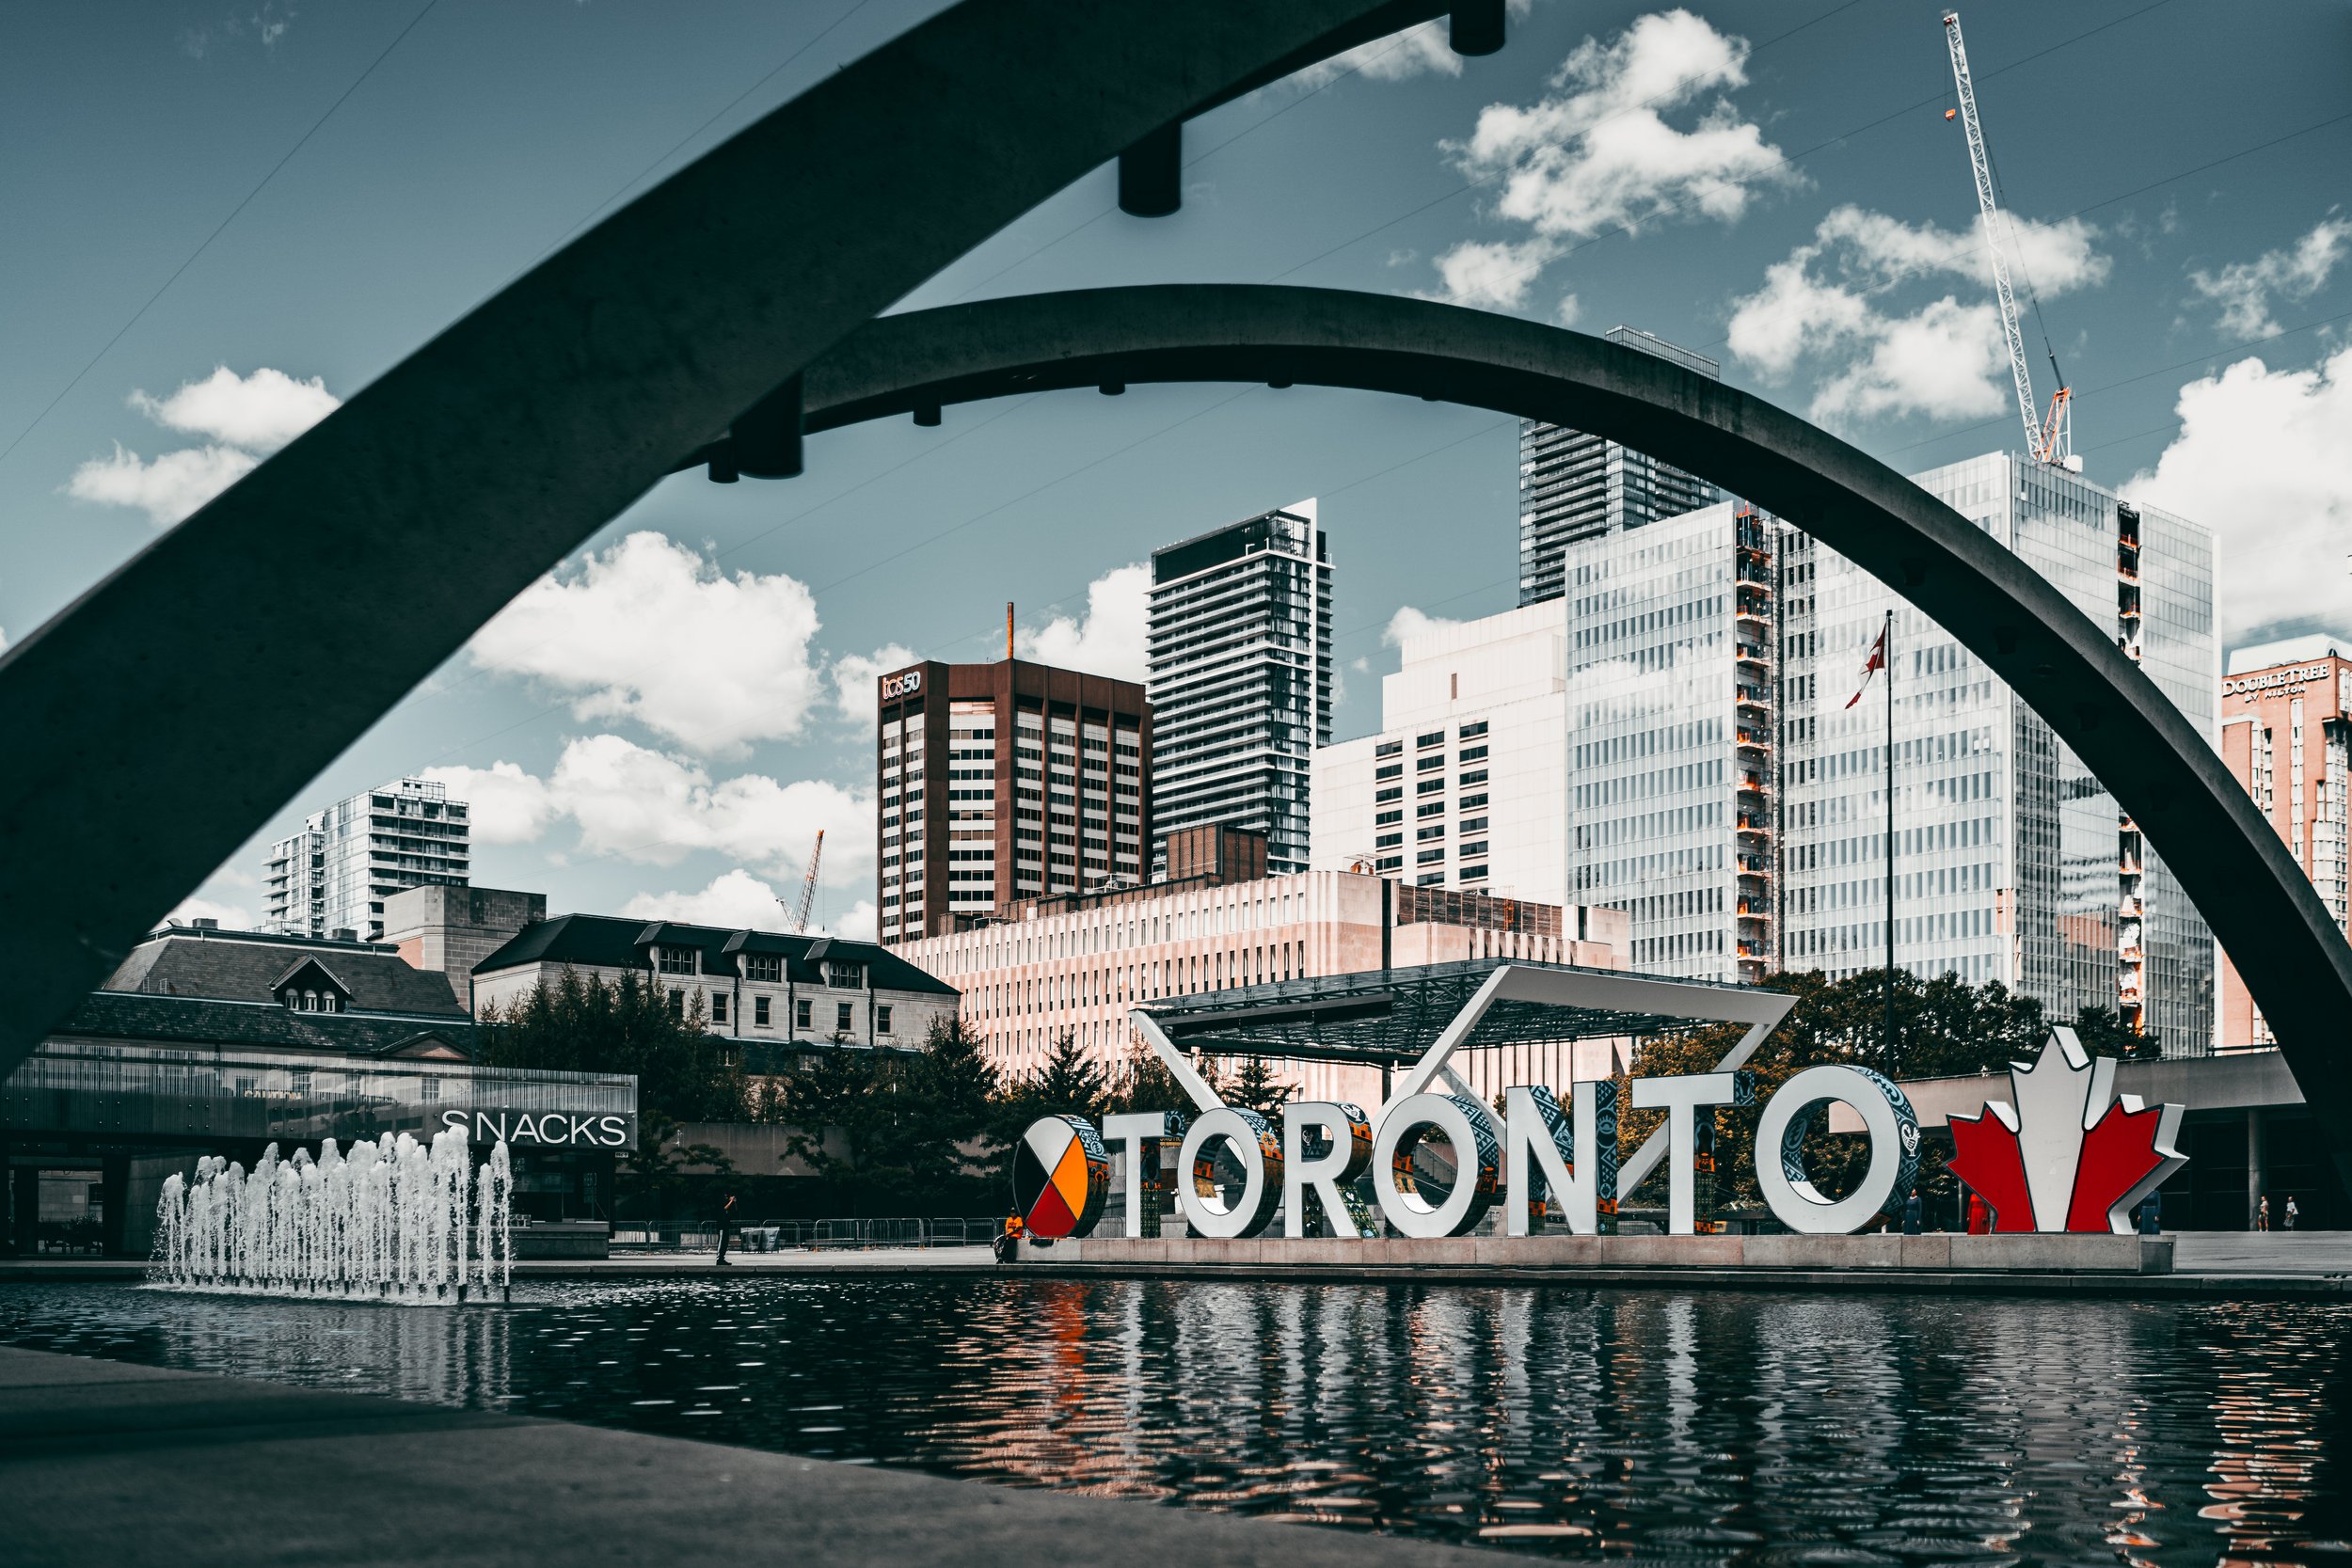
In 2021 I was lucky enough to visit Toronto for the first time and go on a walk with a brilliant creator, Jeff Mann. We shot in the middle of the day in August, it was sunny, harsh shadows and while we shot we chatted as he showed me the around the city.
I saw a lot of down town Toronto that day, the steel and concrete of the high rises was amazing and made for some great photos. Later when I sat down to edit I thought back to that feeling I had walking around the city. The colours that stood out to me and the details that caught my eye. Toronto for me was pretty colourless, with pops here or there to really draw your eye.
This is in contrast to Dublin, where I started practicing photography. Whenever I’m shooting Dublin I always think of the street lamps with the warm orange glow. The city holds an orange hue that can make for some really interesting visuals.
In short when you’re editing anything creatively (i.e. not for real life accuracy) you need to reflect on how the place feels and the impact it had on you at the time. Then and only then will you be able to create work that in uniquely yours.


Wells Blog
Duis mollis, est non commodo luctus, nisi erat porttitor ligula, eget lacinia odio sem nec elit. Maecenas faucibus mollis interdum. Nulla vitae elit libero, a pharetra augue.