Stephen
Tadgh
Home
Home
Portfolio
Portfolio
Resources
Resources
Hi
Get in touch
Let's Talk
Photography
A collection of work, thoughts, and inspiration.
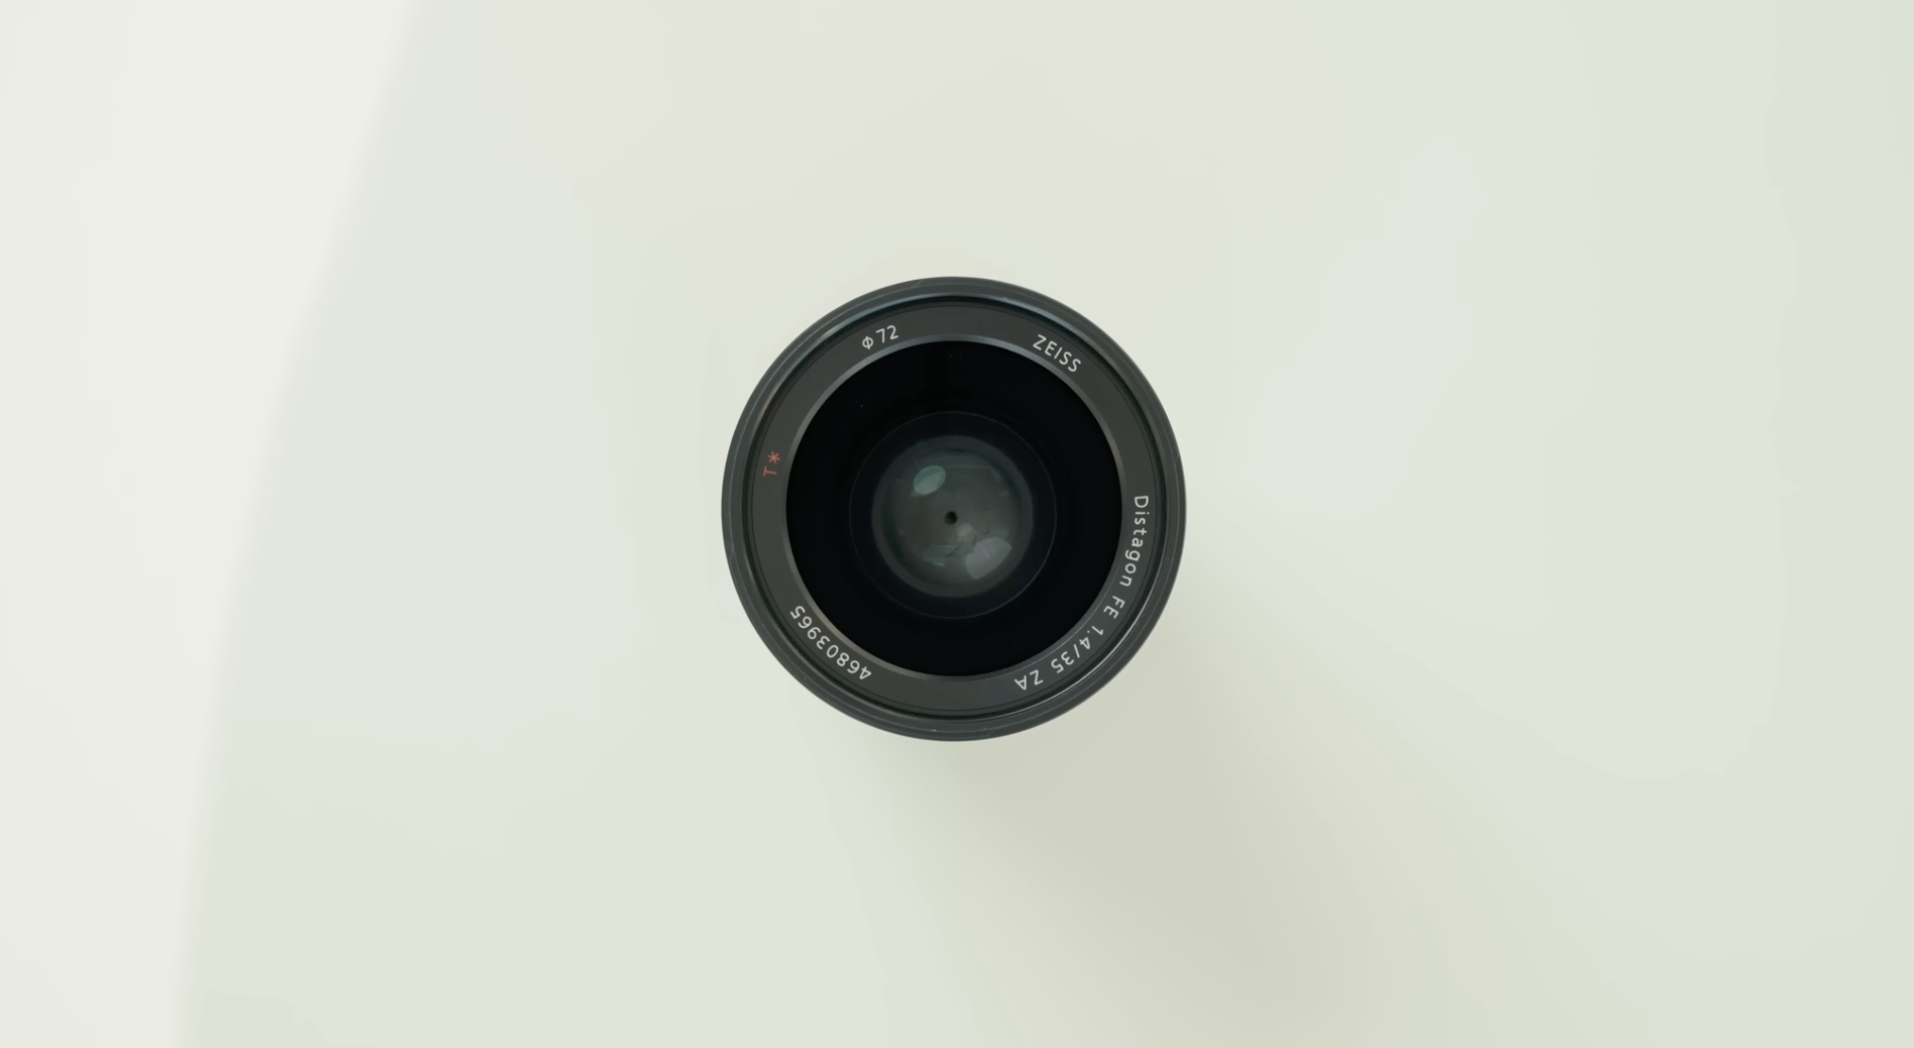
The best 35mm lens choice
Gear talk
To buy or not to buy?
Guides
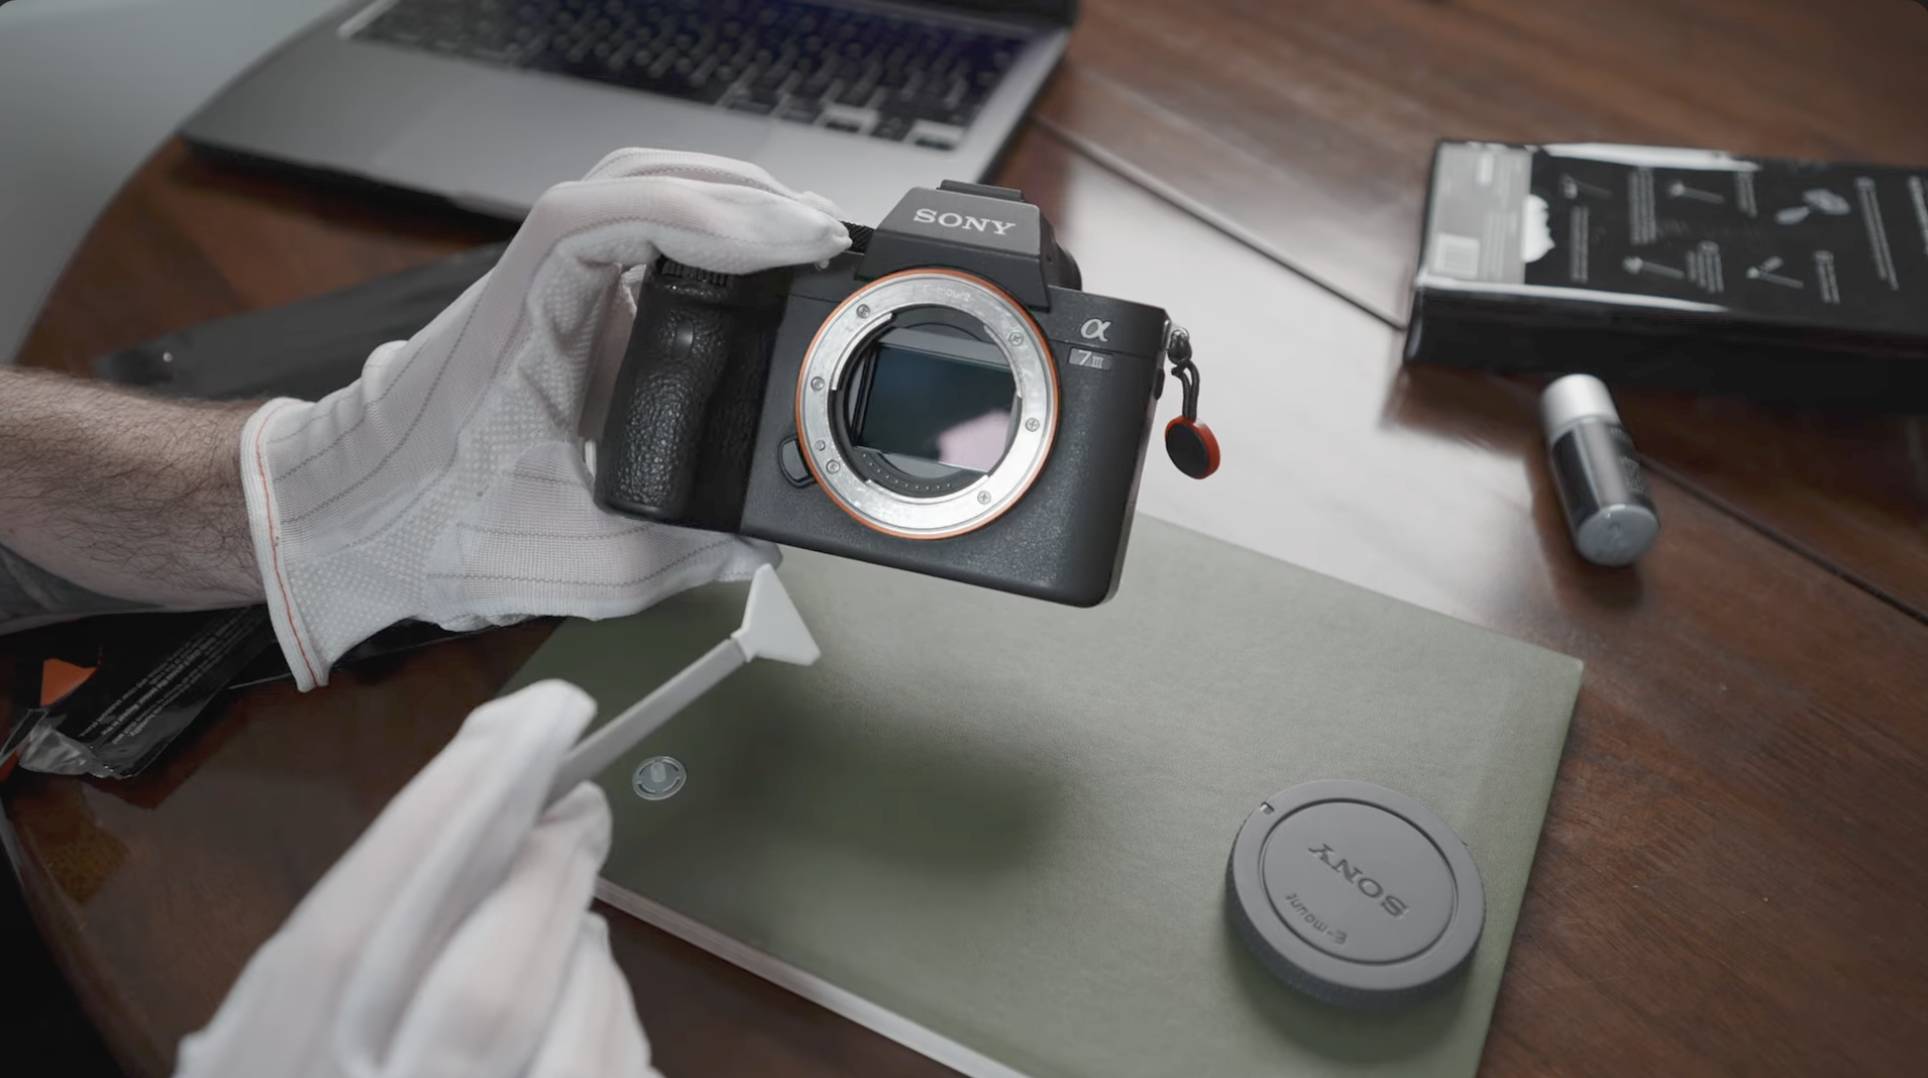
How to clean your camera sensor
Guides
How to invoice as a creator
Guides
The Moment is NOT now
Gear talk
Finding the colours of a city
Guides
Making Spec ads for paid work
Guides
Why you should buy a small drone
Gear talk
How to take brilliant flat lays
Guides